
Charlotte winters are mild compared to the Midwest, but the combination of freeze-thaw cycling, 43+ inches of annual rain, and summer humidity in the 65-80% range takes a real toll on wood decks. Spring is when that damage shows up - and when you can catch small problems before they become expensive ones.
This is a 10-item checklist you can run through in under an hour with basic tools. No specialized knowledge required. If everything passes, your deck is in good shape for another season. If something fails, you will know exactly what to address - and whether it is a DIY fix or a call to a professional.
What you will need
- An awl or Phillips screwdriver
- A 4-foot level
- A flashlight
- Painter's tape (for marking problem spots)
- About 45 to 60 minutes
Inspect Boards for Soft Spots (the Awl Test)
What to do: Press an awl or the tip of a Phillips screwdriver into the deck boards, focusing on spots directly over each joist. Push with firm hand pressure - do not hammer it.
What to look for: Sound wood resists and the tip sinks no more than about 1/8 inch. Rotted wood lets the tip sink 1/4 inch or more with little resistance. The wood may feel spongy or crumbly.
Priority spots: The 2 to 3 boards closest to the house, board ends near posts and perimeter edges, stair treads (especially the bottom step), and any boards that have visible discoloration or dark streaks.
When to call a pro: If you find more than 2 to 3 soft spots, or if any soft spot is directly over a joist (which means the joist below may also be compromised). Mark failed spots with painter's tape so you can photograph them and send them to us.
Check Posts for Plumb
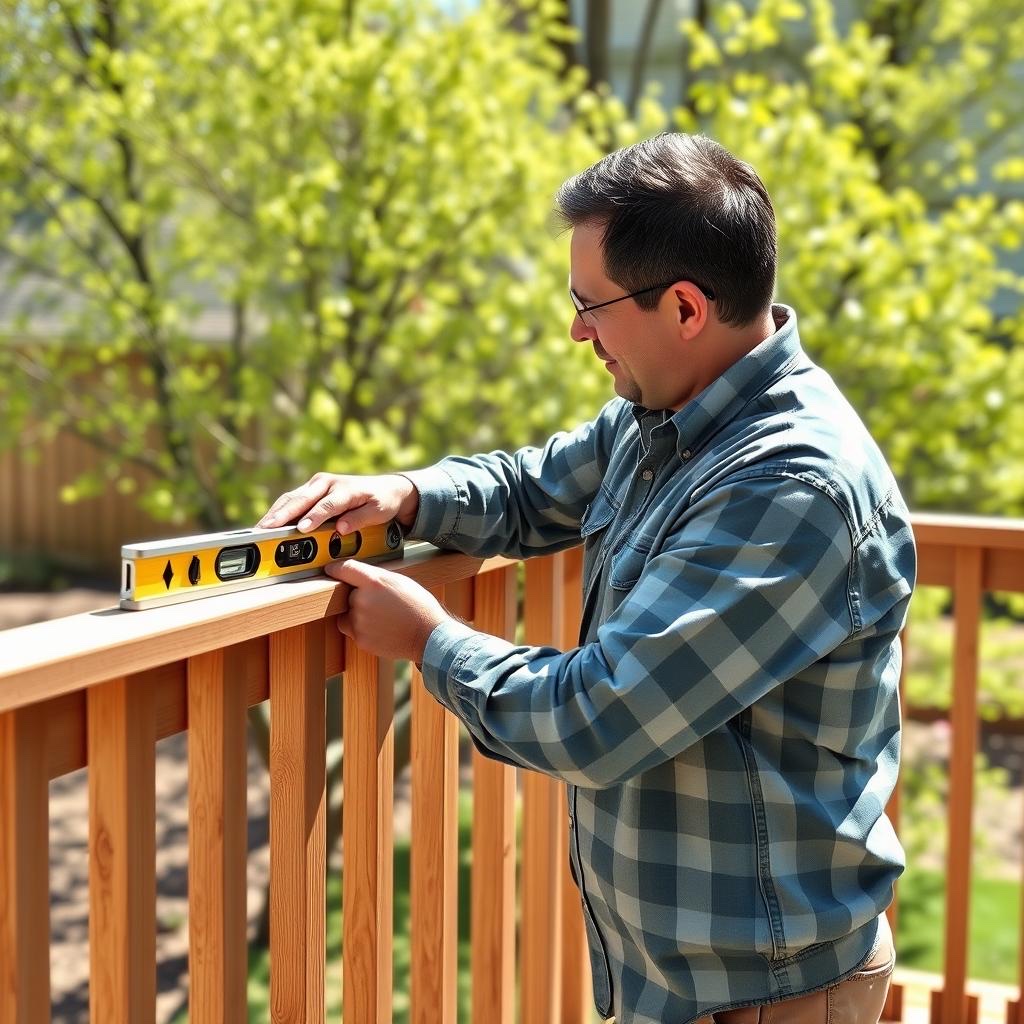
What to do: Hold a 4-foot level against each support post and each railing post, checking both directions (front-to-back and side-to-side).
What to look for: Posts should be plumb - the bubble centered. A post that leans noticeably has either shifted at the footing, rotted at the base, or lost its hardware connection to the beam above.
When to call a pro: Any support post (the structural ones holding up the deck frame) that is visibly out of plumb. A leaning support post means the footing has moved or the post base has rotted, and both are structural issues that affect the whole deck's load path.
Examine Ledger Board Attachment
What to do: Look at the place where your deck meets the house. The ledger is the horizontal board bolted to the band joist of your house. Check for gaps, rust stains, and flashing condition.
What to look for: There should be metal flashing (a Z-shaped piece of aluminum or galvanized steel) running along the top of the ledger, tucked up under your siding. If there is no flashing, water has been running behind the ledger for the life of the deck. Also look for rust stains running down from lag bolts - that means the hardware is corroding.
When to call a pro: If you can see daylight between the ledger and the house, if there is no flashing at all, or if the ledger feels soft when probed. A failed ledger is the number one cause of catastrophic deck collapses. This is not a DIY fix.
South-Charlotte note
Many decks built in the early 2000s housing boom across Marvin, Waxhaw, and Weddington were installed without ledger flashing. This was legal at the time but is the single biggest source of hidden rot we see on 15 to 22 year old decks. If your deck was built before 2010 and you have never had the ledger checked, put this at the top of the list.
Test Railing Stability (Push Test)
What to do: Push hard on every railing post with both hands at chest height. Then wiggle individual balusters (the vertical spindles between posts).
What to look for: Posts should barely move - certainly less than 1/2 inch of flex. Balusters should be snug. NC code requires deck railings to resist 200 lbs of lateral force at the top.
When to call a pro: Any post that moves more than 1/2 inch or any section of railing that feels loose as a unit. Loose railings are a safety hazard, especially on elevated decks. See our railing safety and code guide for the full NC/SC requirements.
Look Under the Deck for Joist Damage
What to do: If your deck is high enough to get under (even partially), grab a flashlight and look at the framing from below. Probe the joists, beams, and the underside of the ledger with your awl.
What to look for: Dark staining or discoloration on joists (signs of chronic moisture), visible cracks or splits running along the grain, soft or punky wood when probed, sagging or bowed joists, and any signs of insect damage (small round holes, sawdust piles).
When to call a pro: Any joist that fails the awl test, any visible cracking longer than 12 inches, or any joist that has visibly bowed or sagged. Joist damage is not visible from the deck surface until it is severe - by the time a board above a bad joist starts flexing, the joist may already need sistering or replacement.
Check Fastener Condition
What to do: Walk the deck and look at every visible screw head and nail head. Run your hand across the surface to feel for anything raised.
What to look for: Popped screws (heads sitting above the board surface), rusted nail heads leaving black or orange stains, nails that have pulled loose from the joist below, and any spots where a board has lifted off its joist.
DIY fix: Individual popped screws can be driven back down or replaced with a slightly longer coated deck screw. If you have more than a handful of popped fasteners in one area, the wood underneath may be soft and the fastener is losing its grip - probe with your awl before just driving it deeper.
When to call a pro: Widespread fastener failure across a large section, or nails that have corroded to the point where they crumble when touched. Older decks built with uncoated nails in the ACQ pressure-treatment era (roughly 2004-2012) are especially prone to fastener corrosion.
Clear Debris from Board Gaps
What to do: Use a putty knife, flathead screwdriver, or a dedicated deck-gap cleaning tool to scrape leaves, dirt, and organic buildup from between the boards. Follow up with a leaf blower.
What to look for: Packed debris between boards traps moisture against the tops of the joists. This is the single biggest cause of joist-top rot - the joist stays wet for days after rain because the debris above it acts like a sponge.
DIY fix: This is entirely DIY. Do it every fall after the leaves drop and again in spring. A leaf blower in November is one of the cheapest things you can do to extend your deck's life.
Pressure Wash If Needed
What to do: If the deck has visible mildew (dark spots or green film), algae, or ground-in dirt, it is time for a wash. Use a pressure washer at 1,000 to 1,500 PSI with a fan tip (25 or 40 degree), or a garden hose with a deck-cleaning solution.
What to look for: Mildew and algae are not just cosmetic - they hold moisture against the wood surface and accelerate rot. They also make the deck dangerously slippery when wet.
Important: Do not exceed 1,500 PSI on softwood (pressure-treated pine). Higher pressure gouges the grain, raises fibers, and makes the surface rougher - which actually traps more moisture going forward. Never use a zero-degree nozzle on a deck.
When to call a pro: If the deck needs washing as prep for staining, it is usually more cost-effective to have the wash and stain done together. Our staining service quotes the wash and sand prep as its own line, from $900, since it takes about two crew days at any deck size.
Apply Stain or Seal If Due
What to do: Sprinkle water on the deck surface. If it beads up, the existing stain or seal is still working. If the water soaks in and darkens the wood within 30 seconds, the protection has worn off and it is time to re-apply.
The schedule: In the Charlotte climate, pressure-treated pine needs restaining every 2 to 3 years. Decks under heavy tree cover (most of Marvin and Weddington) should be on the 2-year cycle. Open backyards in Ballantyne or Indian Land can usually stretch to 3.
Product choice: Use a penetrating oil-based stain, not a film-forming product. Film-forming stains and paints create a shell on the surface that eventually peels, trapping moisture underneath - which is the opposite of what you want in our humidity. See our stain vs paint vs seal guide for the full comparison.
Cost: Professional staining runs $4 per square foot for two coats on the walking surface, plus wash and sand prep from $900. A typical 300 sqft deck comes in around $2,100 for prep and surface, plus railings and stairs. Whole stain projects run $850 to $5,100. See our full deck staining cost breakdown.
Send Us Photos If Anything Looks Concerning
What to do: If any item on this checklist raised a flag - soft boards, leaning posts, missing ledger flashing, loose railings, visible joist damage - send us photos for a free review before using the deck for the season.
What the free photo review covers: Send photos of each side of the deck, the framing underneath, close-ups of soft or damaged spots, and the stairs and railing, plus the deck size and height. We look at the boards, joists, beams, ledger attachment, flashing, hardware, railing posts, and footings in your photos. You get a written reply listing what needs attention now, what can wait, and what the repair will cost.
Cost: The photo review and written quote are free in our service area. If your project needs a visit before we can price it, we'll tell you up front, before anyone drives out. If the deck is sound and just needs staining, we will tell you that too.
The 30-minute version
If you only have 30 minutes, focus on items 1, 3, 4, and 5. Those are the structural checks that catch safety issues. Items 7 through 9 are maintenance - important for deck longevity, but they will not cause a deck to fail this season.
Print this checklist: Walk the deck with your phone open to this page and check items off as you go. Mark any problem spots with painter's tape so you can find them again.